# Quickstart
Go from zero to a published game on Wavedash in a few minutes.
Source: https://docs.wavedash.com/getting-started/quickstart
This quickstart walks through getting a web game live on Wavedash from scratch. It's engine-agnostic — the steps are the same whether you're using Three.js, Phaser, Godot, or anything that produces a folder of HTML and JS files.
**You'll need:**
- A Wavedash account ([sign up free](https://wavedash.com/auth/sign-up))
- A game that builds to a folder of static files
The CLI is optional. You can upload and publish entirely from the [Developer Portal](https://wavedash.com/dev-portal) — skip to step 4 if you'd rather not install a CLI. The CLI exists for teams that want a scripted workflow, a local sandbox (`wavedash dev`), or CI-friendly build uploads.
## 1. Install the CLI
```bash
curl -fsSL https://wavedash.com/cli/install.sh | sh
```
```powershell
Set-ExecutionPolicy -Scope Process -ExecutionPolicy Bypass; irm https://wavedash.com/cli/install.ps1 | iex
```
```bash
brew install wvdsh/tap/wavedash
```
Verify it installed:
```bash
wavedash --version
```
## 2. Authenticate
```bash
wavedash auth login
```
This opens your browser. Approve the login and the CLI saves your credentials locally. You only need to do this once per machine.
## 3. Initialize your project
From the root of your game repo:
```bash
wavedash init
```
The CLI walks you through picking or creating a team and game, then writes a `wavedash.toml` to your project:
```toml
game_id = "your-game-id"
upload_dir = "./dist"
```
Make sure `upload_dir` points at the folder containing your `index.html`. Change it to match your engine's output directory — `./build`, `./out`, `./export`, etc.
## 4. Call `init()` — required
This is the one line of code every game needs — including single-player games that use no other Wavedash features. Call `Wavedash.init()` once, when your game has finished loading. **Until you call it, your game stays hidden behind the Wavedash loading screen and never appears.** The SDK is injected automatically, so there's nothing to install.
```javascript
Wavedash.init();
```
`init()` marks the game as loaded and reveals it to the player. While your game is still loading, report progress as you go — call `updateLoadProgressZeroToOne()` repeatedly so players see a real loading bar instead of one that sits at 0% and then snaps to 100%:
```javascript
Wavedash.updateLoadProgressZeroToOne(0.0);
await loadAssets();
Wavedash.updateLoadProgressZeroToOne(0.5);
await startRuntime();
Wavedash.updateLoadProgressZeroToOne(1.0);
Wavedash.init();
```
If you're using TypeScript and want types and editor autocomplete, install `@wvdsh/sdk-js`:
```bash
npm install @wvdsh/sdk-js
```
```typescript
import Wavedash from "@wvdsh/sdk-js";
Wavedash.init({ debug: true });
```
The default export is the live, fully-typed Wavedash SDK singleton — methods, events, and payloads all autocomplete.
See [SDK setup](/sdk/setup) for the full `init()` API, engine-specific wrappers, and load lifecycle details.
## 5. Test locally
If you have the CLI installed, produce a production build of your game and run:
```bash
wavedash dev
```
This launches the Wavedash Dev app, which runs your build inside the Wavedash sandbox. The SDK works against sandbox data, so leaderboards, achievements, cloud saves, and multiplayer all work without touching production. The first run downloads the dev app; subsequent runs reuse it.
If you're not using the CLI, skip this step and verify your game on wavedash.com after you publish in step 6.
## 6. Upload and publish
Open your game in the [Developer Portal](https://wavedash.com/dev-portal), go to the **Builds** tab, and click **"Upload new build"**. Drag and drop your build folder or zip — up to 1 GB.
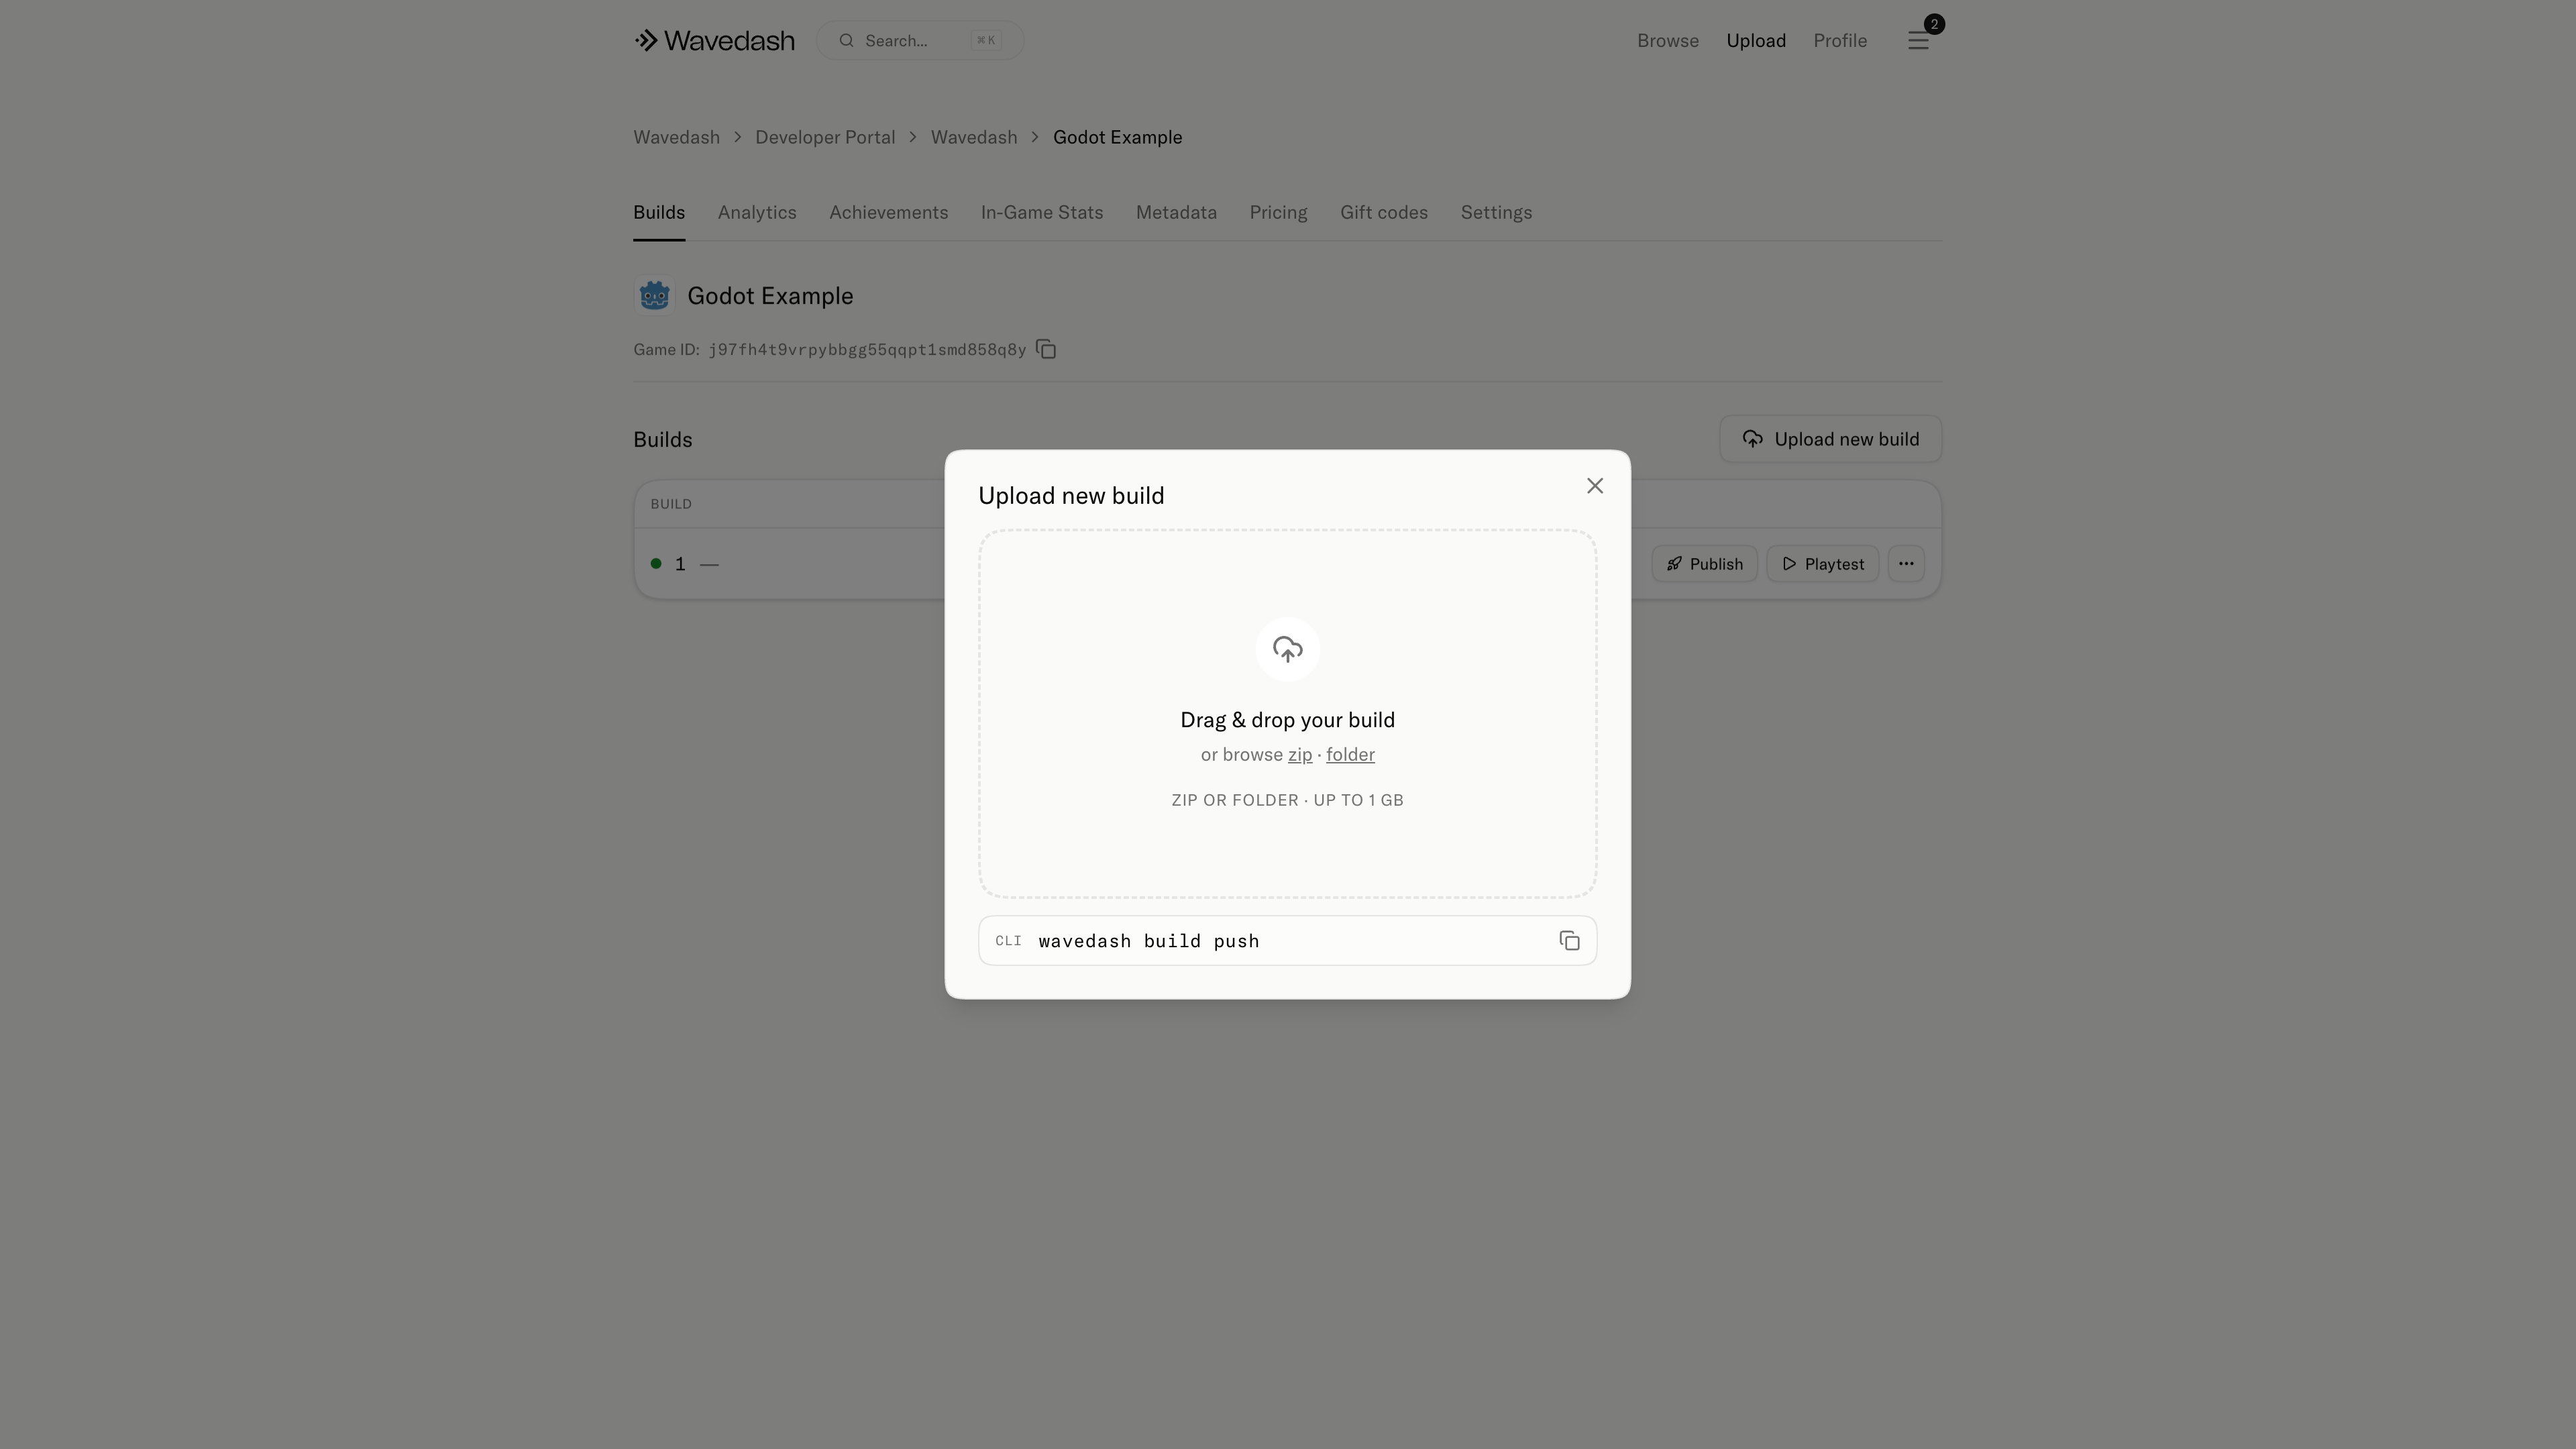
Once uploaded, click **"Publish"** next to the new build to make it live.
Push your build:
```bash
wavedash build push
```
The CLI packages your `upload_dir`, uploads it as a new numbered build, and prints a `Build ID`.
Publish that build:
```bash
wavedash publish
```
Add release notes when you want the update to show a title, summary, or categorized changes:
```bash
wavedash publish \
--title "Version 1.0.1" \
--summary "Small polish pass." \
--fixed "Fixed fullscreen sizing" \
--adjusted "Tuned input timing"
```
After publishing, open the public game URL in a fresh browser to verify everything works end to end.
Your game is live on Wavedash.
Before you share the link, set up your store page — title, description, screenshots, and tags — in [Publishing → Metadata](/publishing/metadata).
## Next steps
Automate uploads on every merge so you never push manually again.
Leaderboards, achievements, cloud saves, and multiplayer.
Screenshots, trailers, tags, and monetization.
Engine-specific build settings and SDK wrappers.