# CI/CD pipeline
Automatically upload a new build to Wavedash on every merge to main.
Source: https://docs.wavedash.com/tutorials/ci-cd
This tutorial sets up automatic build uploads whenever you push to your main branch. After the pipeline runs, the new build appears in the Developer Portal ready to publish — no manual CLI step needed.
**Prerequisites:**
- A `wavedash.toml` committed to your repo (run `wavedash init` locally first — see the [Quickstart](/getting-started/quickstart))
- A CI/CD system (GitHub Actions or GitLab CI shown below)
## 1. Get an API key
CI runners don't have a browser, so you authenticate with an API key instead of `wavedash auth login`.
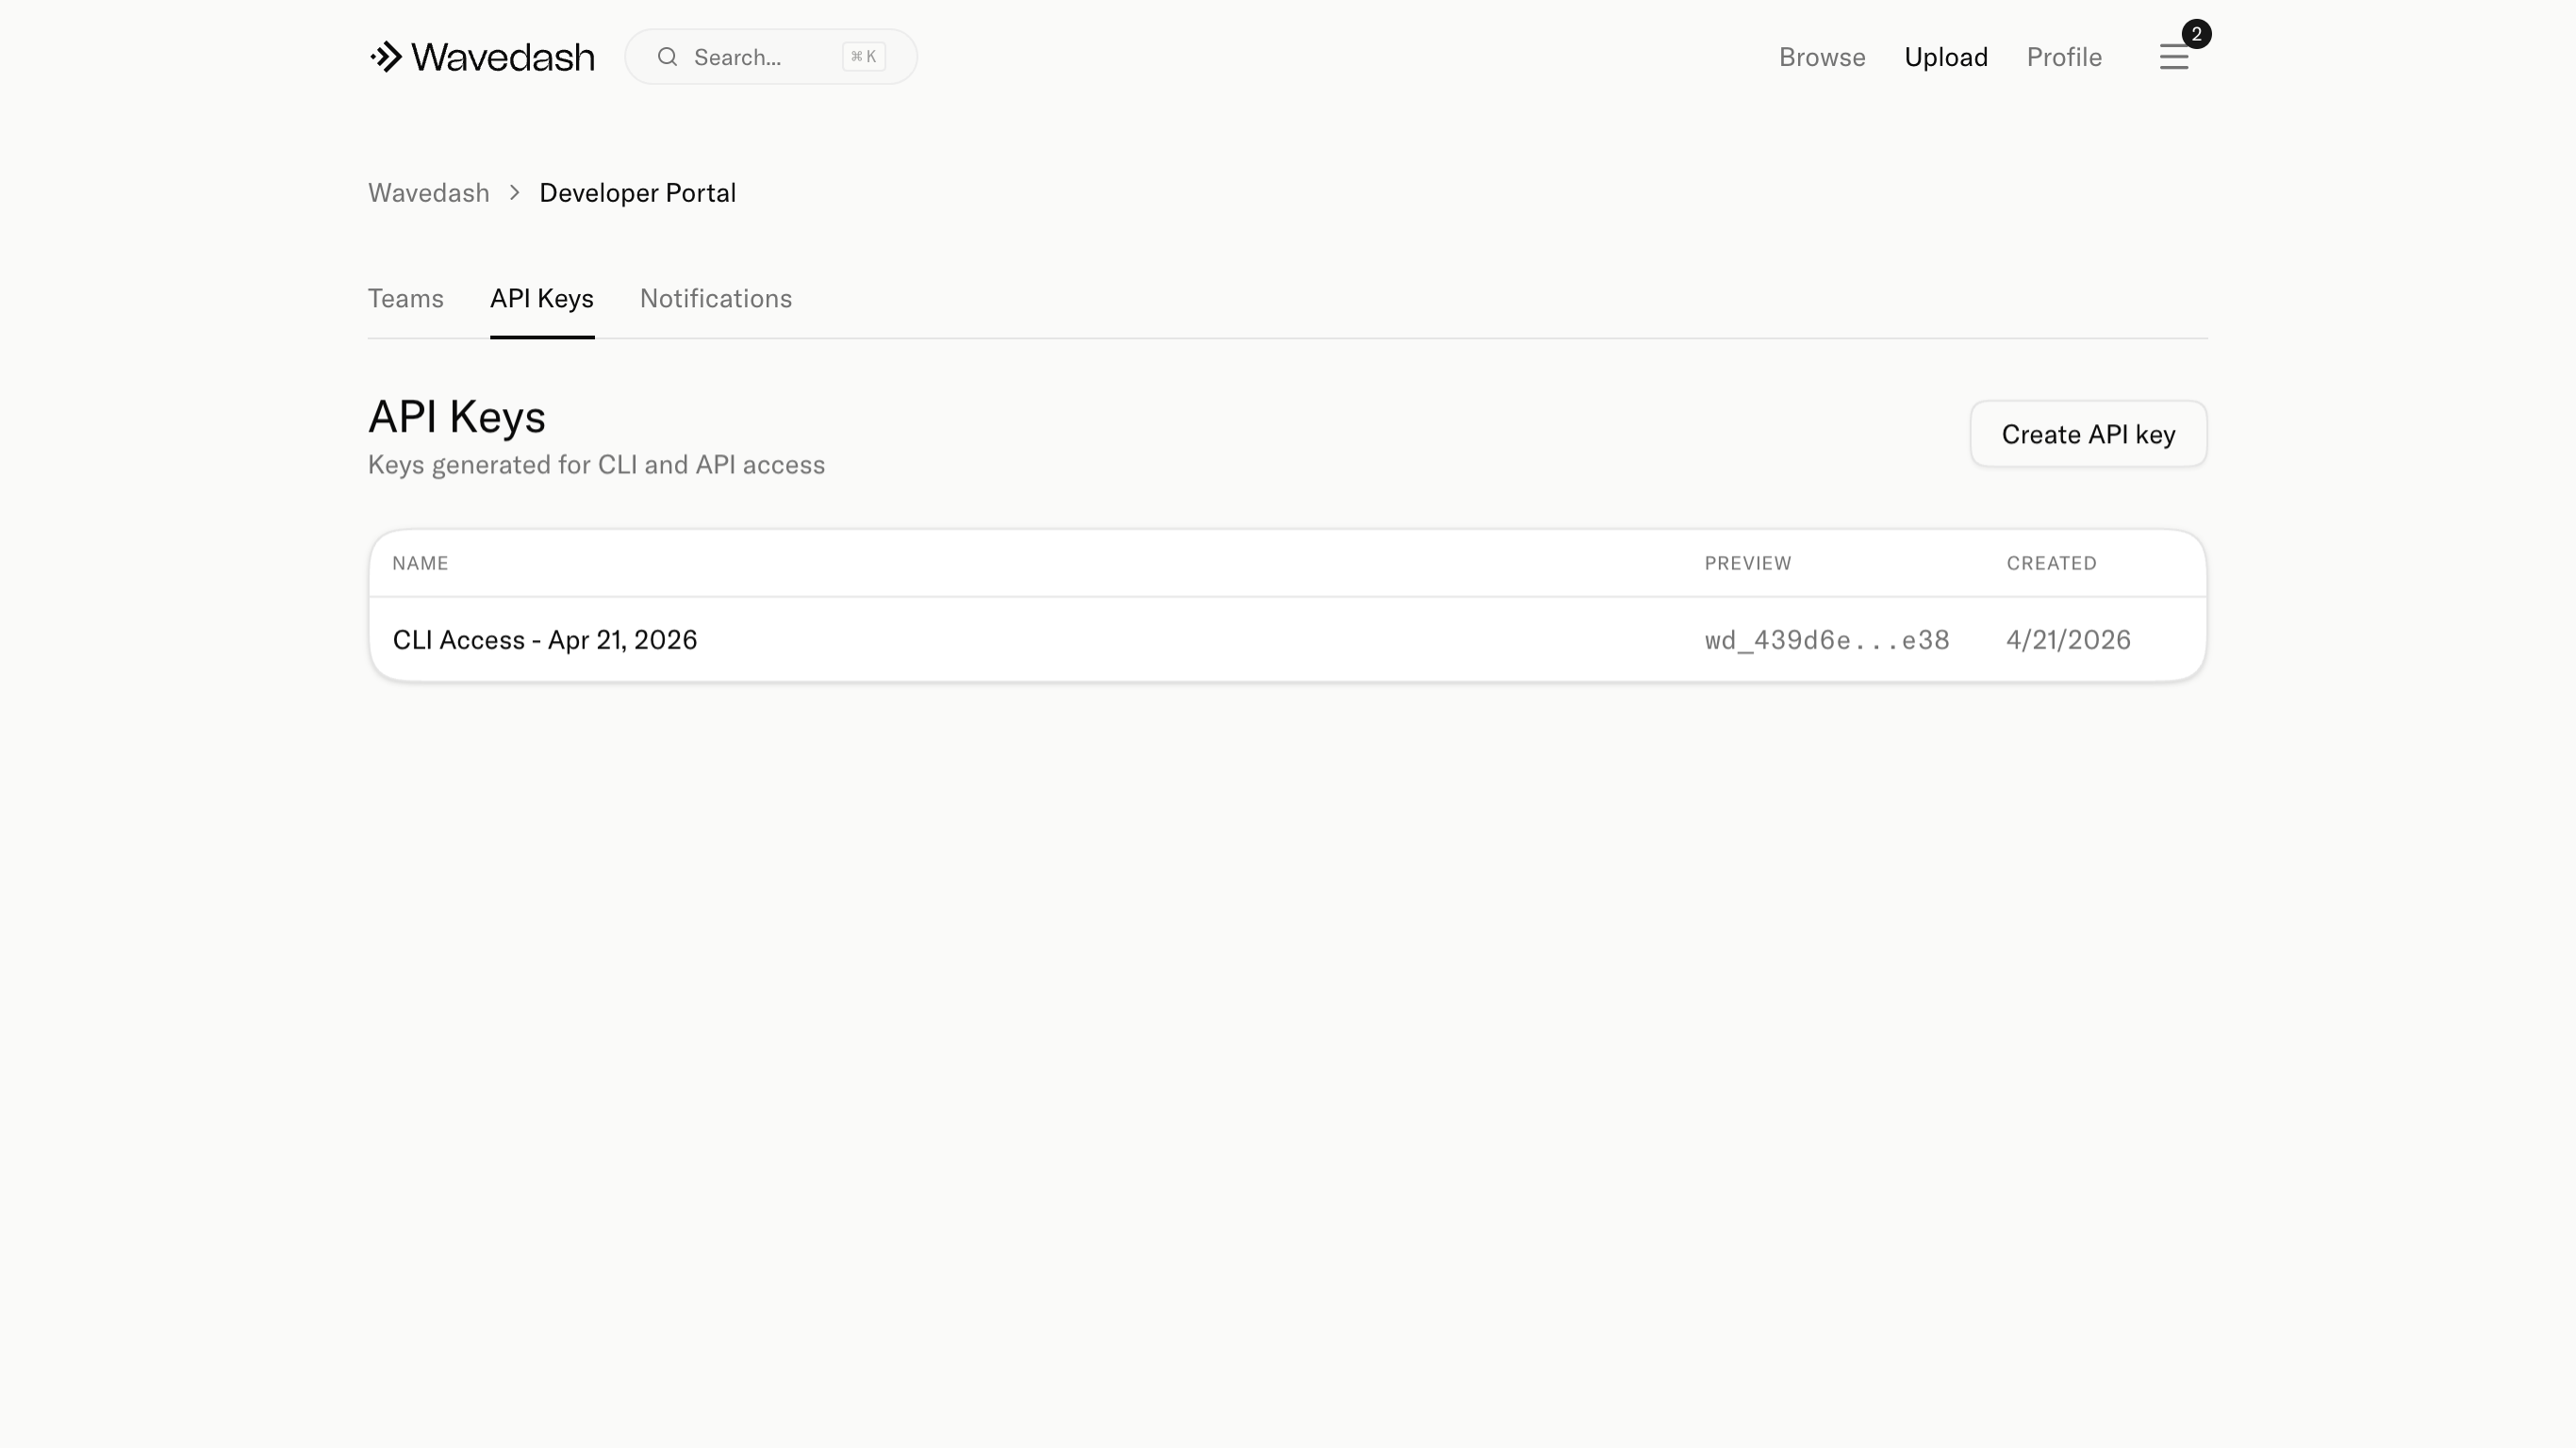
1. Open the [Developer Portal](https://wavedash.com/dev-portal)
2. Go to the **API Keys** tab
3. Click **"Create API key"**, then copy the key — you won't be able to see it again
## 2. Store the key as a secret
Never put your API key in source code or commit it to your repo. Add it as a secret in your CI system:
- **GitHub Actions**: Repository → Settings → Secrets and variables → Actions → **"New repository secret"** → name it `WAVEDASH_TOKEN`
- **GitLab CI**: Repository → Settings → CI/CD → Variables → add `WAVEDASH_TOKEN` as a masked variable
## 3. Add the pipeline step
Create `.github/workflows/deploy.yml`:
```yaml
name: Deploy to Wavedash
on:
push:
branches: [main]
jobs:
deploy:
runs-on: ubuntu-latest
steps:
- uses: actions/checkout@v4
- name: Build game
run: npm run build # replace with your build command
- name: Install Wavedash CLI
run: curl -fsSL https://wavedash.com/cli/install.sh | sh
- name: Push build
run: wavedash build push -m "Build ${{ github.sha }}"
env:
WAVEDASH_TOKEN: ${{ secrets.WAVEDASH_TOKEN }}
```
When `WAVEDASH_TOKEN` is set, the CLI uses it automatically — no login step needed.
Add to `.gitlab-ci.yml`:
```yaml
deploy:
stage: deploy
image: ubuntu:latest
rules:
- if: $CI_COMMIT_BRANCH == "main"
script:
- apt-get update -qq && apt-get install -y curl
- curl -fsSL https://wavedash.com/cli/install.sh | sh
- npm run build # replace with your build command
- wavedash build push -m "Build $CI_COMMIT_SHA"
```
`WAVEDASH_TOKEN` is picked up automatically from your CI/CD variables.
Replace `npm run build` with whatever command produces your game's output folder, and make sure `upload_dir` in `wavedash.toml` points at that folder.
## 4. Publish after CI
Uploading does not make a build live. After the pipeline runs, open the [Developer Portal](https://wavedash.com/dev-portal), go to the **Builds** tab, and click **"Publish"** on the build you want to ship.
This is intentional — CI uploads on every merge, but you decide exactly when players see a new version.